How to Install Beadboard Wainscoting: Complete DIY Guide (Panels, Height, Bathroom & Design Ideas)
If your walls look dull or lack character, beadboard wainscoting is one of the simplest upgrades that delivers a big visual impact. It adds texture, protects walls, and instantly makes a space feel more finished—whether it’s a bathroom, kitchen, or dining room.
Many beginners hesitate because they think installation is complicated or expensive. In reality, beadboard is one of the most DIY-friendly wall treatments available. Once you understand the right materials, panel types, and installation steps, you can complete it over a weekend with professional-looking results.
This guide is designed to fully answer what people are actually searching—from installation steps and panel types to design ideas, trim options, and the best height for different rooms.
What Is Beadboard Wainscoting and Why Use It?
Beadboard wainscoting is a decorative wall paneling style made of vertical grooves (beads) that create a classic, textured appearance. It typically covers the lower portion of a wall and is finished with a trim or chair rail at the top.
Homeowners use it not just for aesthetics but also for practical reasons. It protects walls from scuffs in high-traffic areas like hallways and dining rooms, while also adding warmth and detail to otherwise flat surfaces. Unlike expensive custom paneling, beadboard offers a similar look at a fraction of the cost, making it ideal for budget-conscious upgrades.
Types of Beadboard Wainscoting Panels (What to Choose)
Common Panel Options
- MDF beadboard panels (budget-friendly and easy to paint)
- PVC beadboard (best for bathrooms and moisture-prone areas)
- Real wood beadboard (premium look but higher cost)
- Peel-and-stick panels (ideal for renters)
When choosing between these, the decision usually comes down to location and durability. For example, bathrooms and kitchens benefit from PVC because it resists moisture, while MDF works perfectly in living rooms and bedrooms. Many homeowners also search for beadboard wainscoting kits, which include pre-cut panels and trim pieces—these simplify the process for beginners.
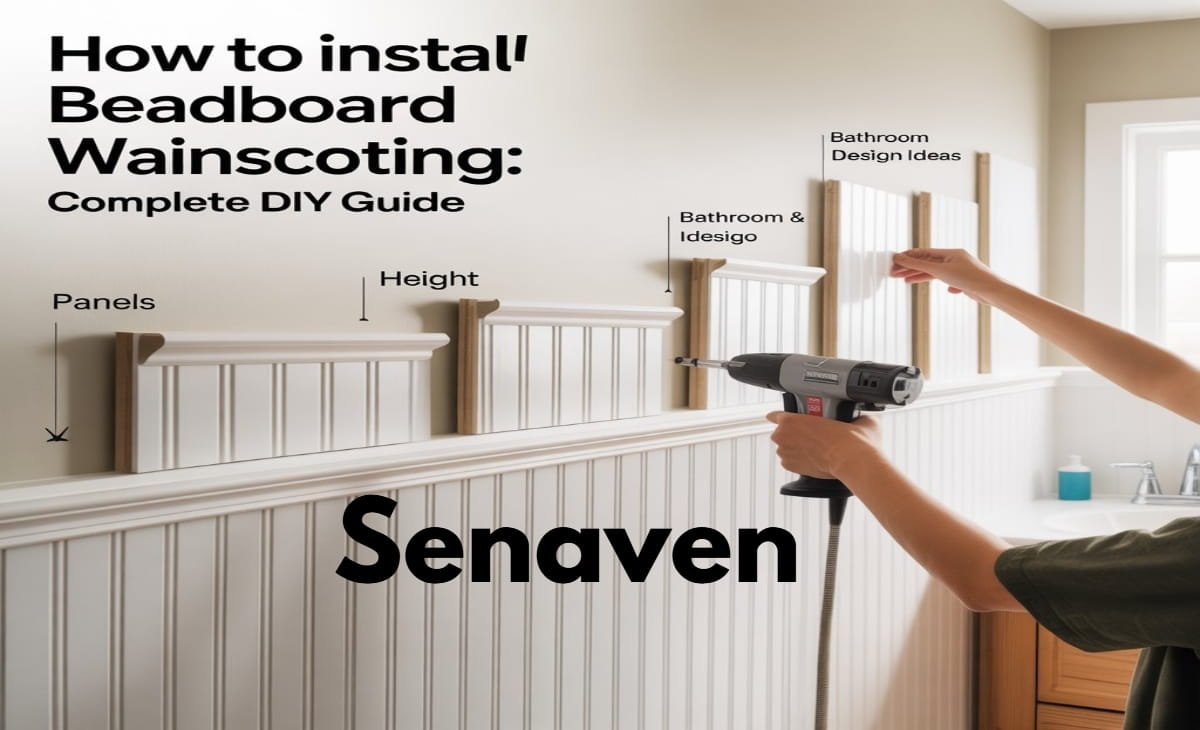
Step-by-Step: How to Install Beadboard Wainscoting
The installation process is straightforward, but precision matters. Start by measuring your wall and deciding on the height. Most installations fall between 32 and 48 inches, depending on the style you want. Mark a level line across the wall to guide your panel placement—this step ensures your final result looks clean even if floors are uneven.
Next, prepare the wall by cleaning it and removing any obstacles like outlet covers. Beadboard panels can be installed directly over drywall, which is why this project is so beginner-friendly. Once the surface is ready, cut your panels to size carefully. Always double-check measurements before cutting, as small errors can create visible gaps.
Apply construction adhesive to the back of each panel and press it firmly onto the wall. Secure it with finishing nails or a nail gun for extra stability. Continue panel by panel, making sure everything stays aligned.
After the panels are in place, install the top trim or chair rail. This step is what gives beadboard wainscoting its finished, professional look. Finally, fill nail holes, caulk seams, and paint the surface. A semi-gloss finish is usually preferred because it’s durable and easy to clean.
Beadboard Wainscoting Height: What Works Best?
Choosing the right height is one of the most common questions, and it can completely change the look of a room. Traditional designs usually sit around one-third of the wall height, which translates to about 32–36 inches. This works well in dining rooms and hallways where a classic style is preferred.
For a more modern appearance, many homeowners go higher—around 40–48 inches. In bathrooms, beadboard is often installed slightly taller to protect walls from moisture and splashes. The key is to keep proportions balanced with ceiling height and furniture placement.
Beadboard Wainscoting Trim Options Explained
Trim plays a crucial role in how polished your project looks. The top edge is usually finished with a chair rail, while the bottom may align with an existing baseboard or include a new one, often paired with a base shoe molding for a cleaner finish.
Popular Trim Styles
- Chair rail (classic and most common)
- Flat trim (modern and minimal)
- Decorative molding (more traditional or elegant look)
The choice depends on your interior style. Simple trim creates a clean, modern feel, while detailed molding adds a more traditional or formal touch.
Room-by-Room Ideas (Bathroom, Kitchen, Dining Room & More)
Beadboard wainscoting is incredibly versatile, which is why it shows up in so many search queries.
In bathrooms, it’s often used to protect walls from moisture while adding a spa-like feel. White or soft pastel beadboard paired with tile floors creates a clean, fresh look. Just make sure to use moisture-resistant materials like PVC.
In kitchens, beadboard works beautifully on walls, islands, or even backsplashes. It adds warmth and texture without overwhelming the space. Many homeowners pair it with open shelving or shaker cabinets for a cohesive design.
Dining rooms benefit from beadboard because it creates a natural visual boundary and adds elegance without requiring full wall paneling. It also pairs well with bold paint colors above the trim.
In living rooms or entryways, beadboard can make the space feel more inviting while protecting walls from everyday wear and tear.
Beadboard Wainscoting Panels vs Kits vs Custom Install
When planning your project, you’ll likely come across panels, kits, and custom options. Panels are the most common and cost-effective choice, allowing you to cut and fit them as needed. Kits are ideal for beginners because they include matching trim and pre-sized components, reducing guesswork.
Some homeowners explore options from major retailers like Home Depot when searching for affordable materials. These ready-to-use products make beadboard installation more accessible, even for first-time DIYers.
Custom installations, on the other hand, offer the most flexibility in design but are significantly more expensive and usually require professional help.
Cost of Beadboard Wainscoting (DIY vs Professional)
The cost depends on materials and room size, but beadboard remains one of the more affordable wall upgrades. DIY projects typically range from $1.50 to $5 per square foot, especially when using MDF panels. Hiring a professional can increase costs to $7–$20 per square foot.
If you’re working with a tight budget, sticking to standard panels and doing the installation yourself can save a significant amount without sacrificing quality.
Common Mistakes to Avoid
Many DIY beadboard projects go wrong due to small oversights rather than major errors. Skipping the level line often leads to uneven panels, which becomes very noticeable once the trim is installed. Another common issue is not sealing gaps properly—without caulk and filler, even well-installed panels can look unfinished.
Using the wrong material in moisture-prone areas is another mistake. MDF may look great initially, but it can swell over time in bathrooms or kitchens. Taking time to choose the right material for each space prevents long-term problems.
Expert Advice: Tips for a Clean, Professional Finish
For the best results, focus on the small details. Let beadboard panels acclimate in the room for 24 hours to avoid expansion issues, especially in bathrooms and kitchens. Always use a level during installation—uneven lines can ruin the final look.
Take your time with finishing. Proper caulking, filling nail holes, and smooth paint application—along with finishing edges using shoe molding for a seamless transition between wall and floor—make the biggest difference in achieving a professional finish. Also, use moisture-resistant materials in high-humidity areas to prevent long-term damage.
Conclusion
Beadboard wainscoting is one of the most practical and rewarding DIY upgrades you can make. It combines style, durability, and affordability in a way that few other wall treatments can match.
Whether you’re installing it in a bathroom, kitchen, or dining room, the key to success lies in proper planning, choosing the right panels, and paying attention to finishing details like trim and paint. Once installed, it not only enhances the look of your home but also adds long-term value and protection to your walls.
FAQs
Can I install beadboard wainscoting over drywall?
Yes, beadboard panels are commonly installed directly over drywall as long as the surface is clean and smooth.
What is the best material for beadboard in bathrooms?
PVC beadboard is the best choice because it resists moisture and won’t swell like MDF.
What height should beadboard wainscoting be?
Most installations range from 32 to 48 inches, depending on whether you prefer a classic or modern look.
Are beadboard wainscoting kits worth it?
Yes, especially for beginners. Kits simplify installation by including pre-matched panels and trim pieces.
Can beadboard be used in kitchens?
Absolutely. It works well on walls, islands, and even backsplashes, adding texture and warmth to the space.