What Is a Base Shoe? Complete Beginner’s Guide for Homeowners
Small details can make a huge difference in home renovations. If you’ve ever installed new flooring or looked at your baseboards, you might have noticed tiny gaps between the floor and the wall. While minor, these gaps can collect dust, look unfinished, and even damage walls over time.
A base shoe is the solution. This small molding not only hides imperfections but also protects walls, adds a professional finish, and makes cleaning easier. In this guide, you’ll learn everything about It, including how they differ from quarter rounds, installation tips, costs, common mistakes, and expert advice to achieve a flawless look.
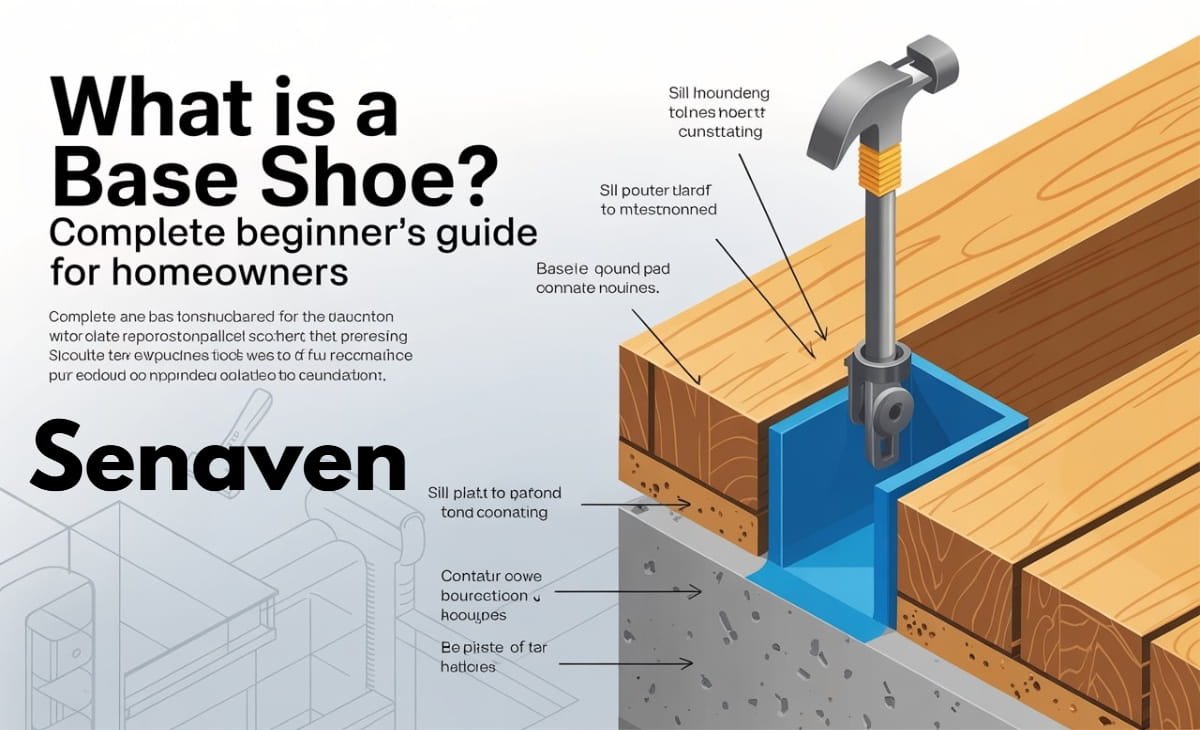
What Is a Base Shoe?
A base shoe is a molding installed at the bottom of baseboards or cabinets, covering the gap between the floor and wall. It provides a clean and polished finish while allowing flooring to expand and contract naturally. Its typically have a rounded profile, are about 3/4 inch in height, and come in materials like wood, MDF, or PVC.
This molding not only enhances aesthetics but also protects baseboards from scuffs and makes maintenance easier. Base shoes are particularly useful with hardwood, laminate, and engineered wood floors, which can shift slightly due to temperature and humidity changes.
Base Shoe vs Quarter Round
Many homeowners wonder whether to choose a base shoe or a quarter round. While both serve similar functions, they differ in appearance and usage. Base shoes have a subtle, rounded profile that works well with tall baseboards and modern flooring designs. Quarter rounds are slightly bulkier, with a classic quarter-circle shape, ideal for covering larger gaps or traditional baseboards.
When choosing, consider the visual effect, the size of the gaps you need to cover, and the style of your room. Using a base shoe gives a refined, elegant finish, while a quarter round provides a traditional look with more coverage.
Step-by-Step Guide to Installing Base Shoe
Tools and Materials Needed
- It molding (wood, MDF, or PVC)
- Measuring tape
- Miter saw or hand miter box
- Brad nailer or finishing nails
- Wood glue or construction adhesive
- Sandpaper (120–220 grit)
- Paint or stain
- Paintable caulk
Installation Steps
- Measure your room carefully, noting inside and outside corners.
- Cut the base shoe pieces using a miter saw at 45-degree angles and dry-fit before nailing.
- Apply a thin line of glue along the back edge, position the molding against the baseboard, and nail every 12–16 inches.
- Fill nail holes and small gaps with wood filler, then sand smooth.
- Paint or stain the base shoe, preferably before installation to reduce mess.
- Apply a thin bead of paintable caulk along the top edge for a seamless finish.
Pro Tips for Perfect Installation
- Scribe the bottom of the base shoe to match uneven floors.
- Use painter’s tape to protect walls while caulking.
- Choose PVC or water-resistant wood for bathrooms or kitchens.
Common Mistakes to Avoid
Installing base shoes may seem straightforward, but certain mistakes can ruin the finish. Avoid skipping miter cuts, as straight corners look unprofessional. Don’t over-nail, which can split the molding or create bulges. Remember to leave space for floor expansion; pushing the base shoe too tightly against the floor can restrict movement and cause warping. Using the wrong material, such as MDF in high-moisture areas, can lead to swelling, so consider PVC or solid wood for wet rooms. Finally, neglecting caulking can leave visible gaps where dust collects.
Costs and Material Considerations
Its cost vary depending on material and quality. Wood typically costs between $1–$3 per foot and can be stained for a natural finish. MDF ranges from $0.75–$2 per foot and is easy to paint but less durable in moisture-prone areas. PVC is more expensive at $1–$4 per foot but is waterproof and ideal for kitchens and bathrooms. Professional installation usually costs $2–$5 per foot, depending on room size and complexity.
Alternatives to Base Shoe
While base shoes are the most common choice, alternatives include quarter rounds, rubber or vinyl trims, or no trim at all. Quarter rounds are slightly bulkier and suitable for covering larger gaps. Rubber or vinyl trims are flexible and water-resistant, often used in utility areas. Skipping trim altogether is a modern design trend but requires precise flooring installation and careful caulking to maintain a clean finish.
Expert Tips & Best Practices
Expert installers recommend matching the profile of the base shoe to the height of the baseboard, pre-finishing the molding to reduce installation mess, and scribing it to fit uneven floors perfectly. Using a brad nailer reduces the risk of splitting, and regular cleaning keeps the molding looking fresh. Base shoes can also hide cabinet toe-kicks, improving kitchen aesthetics without additional trim.
FAQs About Base Shoe
Can a base shoe be installed over carpet?
No. Base shoes are designed for hard flooring like wood, laminate, vinyl, or tile.
Do floating floors need a base shoe?
Yes. Floating floors expand and contract, and a base shoe helps hide the expansion gap.
Should the base shoe match the baseboard color?
Usually yes. Most homeowners paint it the same color as the baseboard for a clean finish.
Can I install a base shoe myself?
Yes. With basic tools like a miter saw and nailer, many DIY beginners can install it.
Is the base shoe waterproof?
Wood and MDF are not fully waterproof, but PVC base shoes are water-resistant.
How often should base shoe be replaced?
It rarely needs replacement unless it becomes damaged or warped.
Conclusion
It is small but vital detail that enhances flooring, protects walls, and simplifies maintenance. With proper material selection, installation techniques, and attention to detail, even DIY enthusiasts can achieve a professional look. Following these expert tips ensures your base shoes will provide a seamless, polished finish for years to come.